Debugging Consent Mode in Google Tag Manager

Management Summary
Are all your tags firing correctly in GTM with consent mode? This step-by-step guide to debugging your Tag Manager implementation will be of help to you.
Guide: Debugging Consent Mode in GTM
If you have worked a bit with Google Tag Manager, you know how to open preview mode and test your tags. You know how to check triggers and variables so see what needs to be changed to get the data you need all the way to the tracking tool of your choice.
One recent update is the upcoming requirement to implement Consent Mode for Google tags. In this post we will look at how to validate your consent mode set up when debugging in GTM.
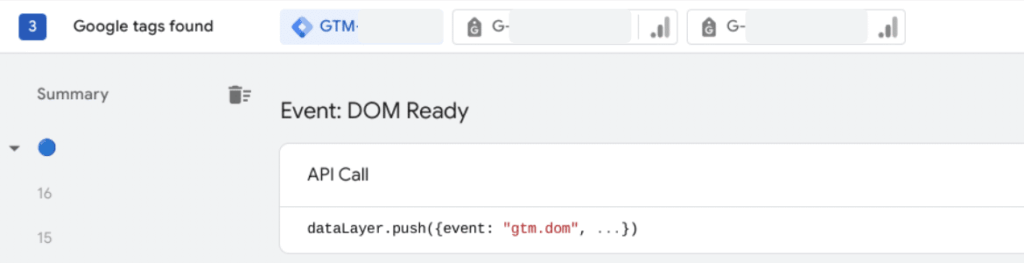
Step 1 – Consent Default

Preview mode. Consent Default. Source: GTM
- Look in the Summary column to the left and find the first Consent event on the page.
- Open the API call, you will see that this is the consent default settings.
- These might be denied or granted. In this case it is denied since, at this point in time, there is no information whether the user has consented or not.
- For default behavior of Google tags, you need ad_storage and analytics_storage. And if you are using consent mode version 2, there should also be values for ad_user_data and ad_personalization.
Step 2 – Consent Update

Preview mode. Consent Update. Source: GTM
- Then you should look at the next Consent event on the left hand side.
- In this API call you can see that consent is updated. This typically would mean that your Consent Management Platform (CMP) has loaded and provided you with the info of the user choices. This can be choices they just made by clicking on the consent banner, or their saved choices from previous pages or visits.
Step 3 – Wait for Update
It usually takes a little time (some milliseconds) for the CMP to give an update. This can be problematic if tags are firing before that update is made. If this is the case for you, take a look at the wait_for_update parameter in the API call from step 1, the consent default. This parameter instructs the Google tags to wait for step 2 before they send the hit.
If you are using Consent Mode Advanced (letting tags fire also when there is no consent) a tag might fire before consent update is made. At that time the consent might be denied. But if the consent gets updated within the specified time frame and is then granted, the hit will be sent off with the granted consent state. This is desirable because you can collect more data with consented hits. And you do not need to use triggers to delay tag firing until the consent is updated.
How to debug and see if this is working as intended
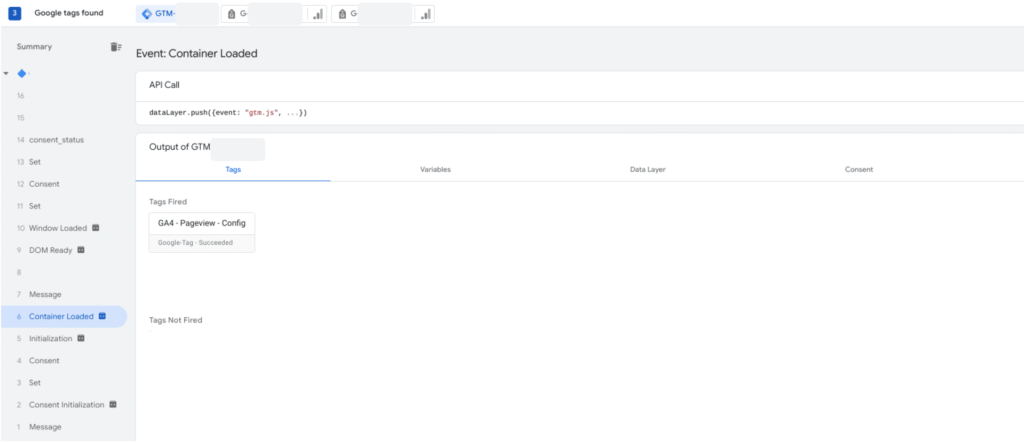
Preview mode. Tags firing. Source: GTM
Check in GTM that the tag you want fires.
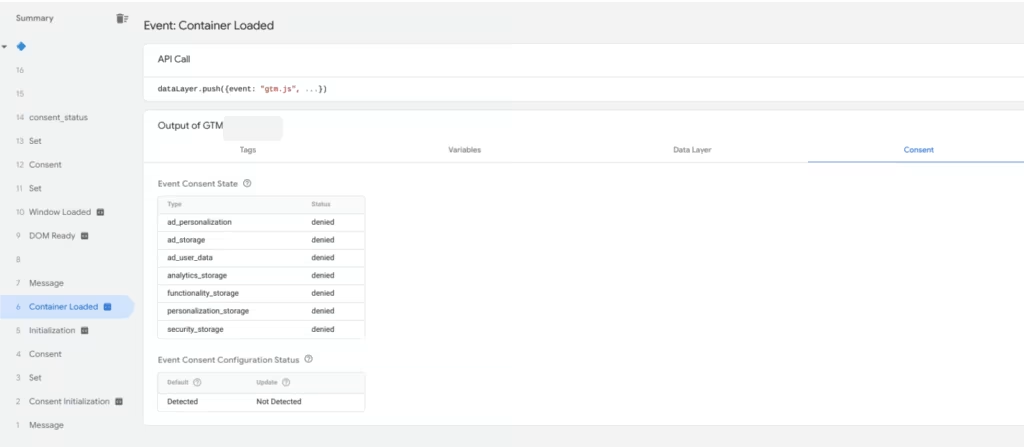
Preview mode. Consent Status. Source: GTM
Then go to the consent tab and check the consent states. In this case the tag fired early. The only consent that is set is the default one, and they are all set to “denied”. That means that at this point in time the hit is unconsented.
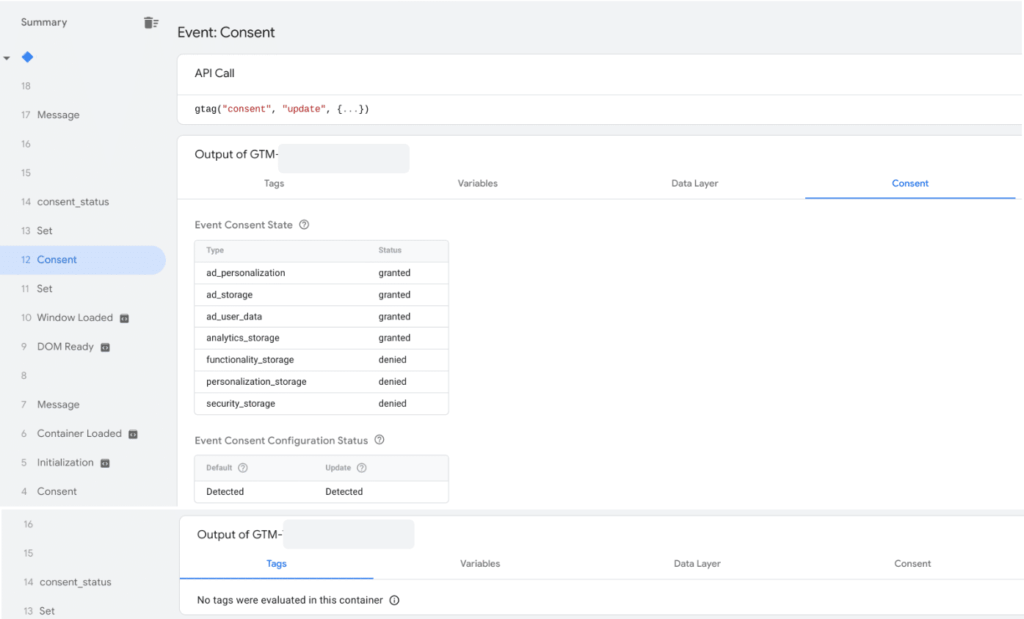
Preview mode. Consent Update. Source: GTM
Look at when the Consent Management Plattform pushes the consent update. Here we can see that the consent updated, but no tags fired.
The consent update happened within the 500 millisecond time frame. So the hit should be consented when it is sent off to analytics, even if it was not when it fired. But just looking at the tag at the time when it fired, you cannot see this to confirm if it is true.
Preview mode. Tabs. Source: GTM
Preview mode. GA4 Tab. Source: GTM
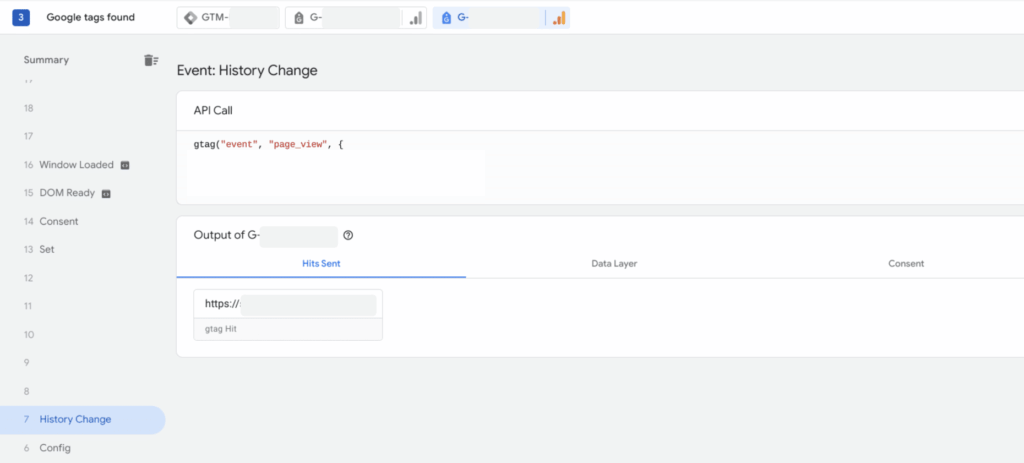
To find out, switch over from the GTM tab to the GA4 tab.
Find and open for example the page_view hit. You will see it either under History Change or under Config in the left column, depending on your send_page_view settings.
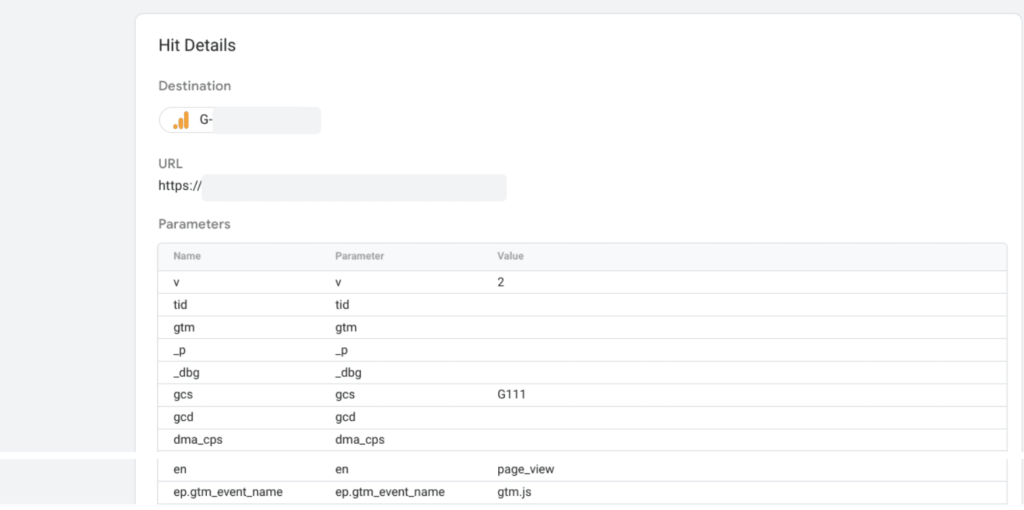
Preview mode. Hit details. Source: GTM
Under hit details, you will find the gcs parameter. This tells you the consent state of the actual hit. In this case G111 means it was a consented hit for both ad_storage and analytics_storage.
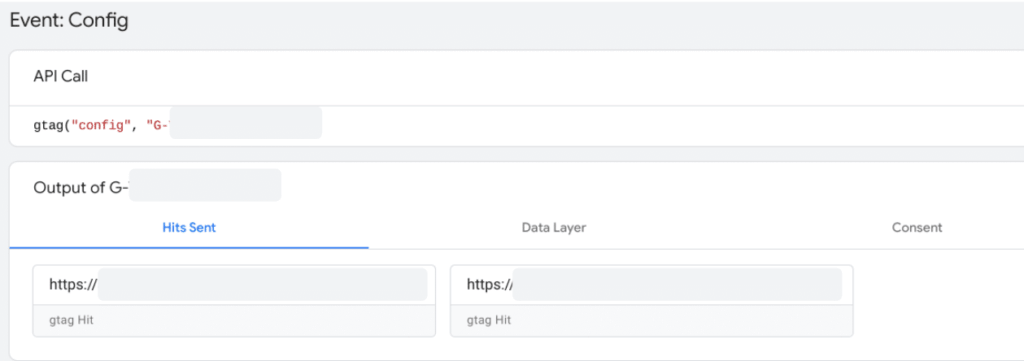
Preview mode. Two hits. Source: GTM
It could also be the case that you see two page view hits on the same event in the left hand column. The difference between them will be that one will be unconsented and the other consented. This is also correct and nothing to worry about.
The different states of the gcs parameter:
| gcs parameter value | ad_storage | analytics_storage |
|---|---|---|
| G100 | denied | denied |
| G110 | granted | denied |
| G101 | denied | granted |
| G111 | granted | granted |
| G1– | not required | not required |
Conclusion
To validate that the consent is correctly set and also forwarded there are a few new parameters to keep track of when you are using consent mode. But it is possible to clearly see what is going on and be confident that your tag behaves the way you intend them to.
More info about recent updates and how to set up consent mode you can find in this article.