Ga4 Modify Events 8211 Adjust Captured Events And Parameters Directly In The Analytics Interface

Management Summary
Renaming an event name
The adjustment or harmonization of event names can be done using the “Modify Event” function without making any changes to the tracking code itself. A classic use case for customizing an event is when the name contains a typo or doesn’t flow as desired. Sometimes it can happen that the same event arrives with slightly different names. For example, “custom_click_event_1” and “custom_click_event_one”. These two actions would appear as separate events in GA4, although conceptually they represent one event. Or, assuming that clicks on contact buttons are recorded in the app and on the website, which come with different names, e.g. “click_contact” and “contact”. In order to harmonize tracking or standardize it across platforms, event modification can be used as a function.
For example, if an event comes in with the name “custom_click_event_1” but should be called “custom_click_event_one”, the event name can be adjusted with the following configuration: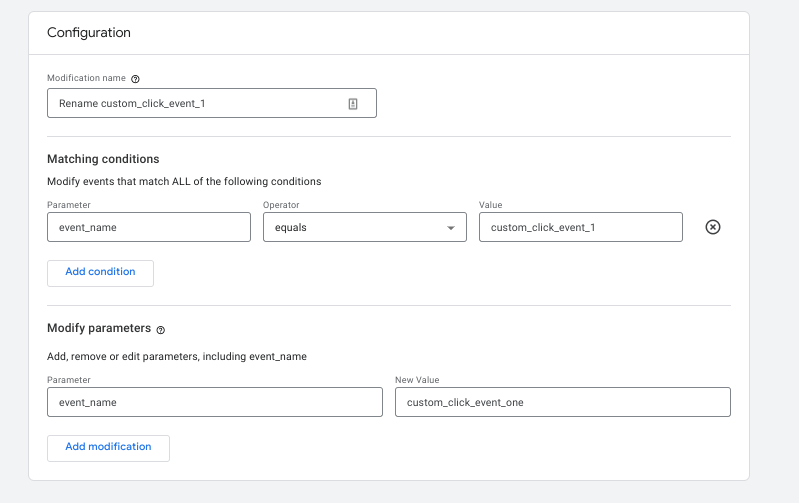 Renaming an event name
Create a new parameter
A great option within the “Modify Events” function is to create new parameters without making any additions to the tracking code. However, this is based exclusively on data or events and parameters that have already arrived. Nevertheless, helpful use cases can arise here too. For example, creating a parameter for content grouping, which is based on the URL structure of the website.
The following screenshot shows how a parameter “content_type” that does not yet exist can be created based on certain versions of the “page_location” parameter.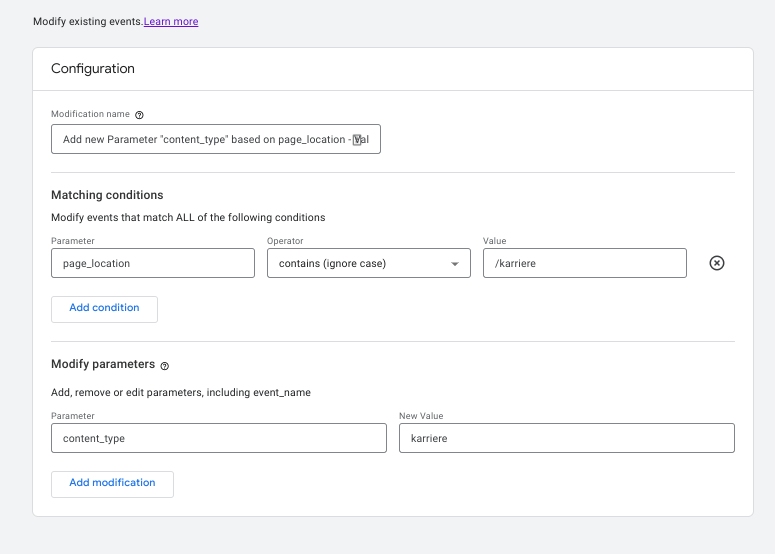 Create new parameters – example: career
With this configuration, the “content_type” parameter is appended to all events (e.g. page_view, scroll, click, etc.) if the URL or “page_location” contains the value “/career”.
If the event should not fire for all events, but only for the page view, for example, the modification can be restricted as in the following example: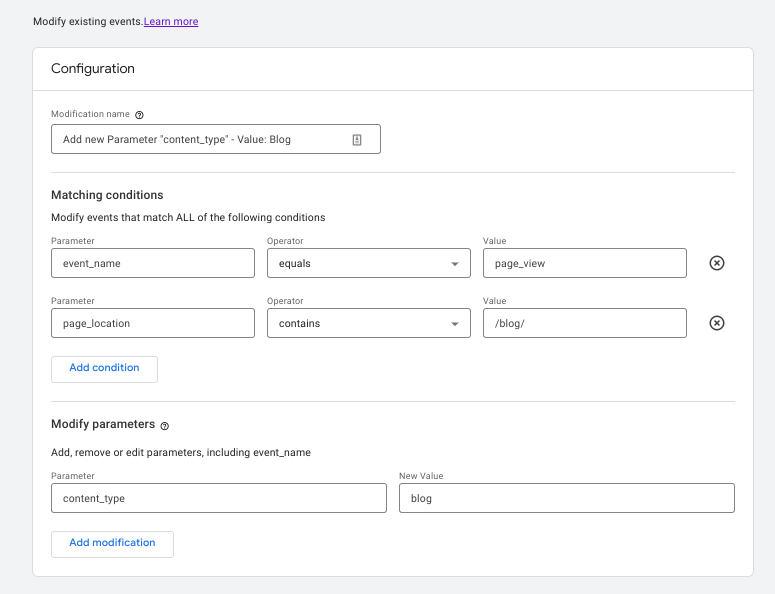 Create new parameters – Example: blog
As soon as the configuration is saved, the parameter is visible relatively quickly in the network console. Whether the configuration works as desired can be checked directly here or using “DebugView”.
All currently incoming parameters (including those that are not registered) are also displayed in the real-time report. The parameters can be found here when you click on an event in the event card. With another click on the parameter, the incoming values are displayed: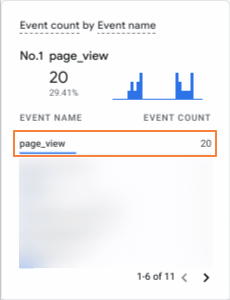
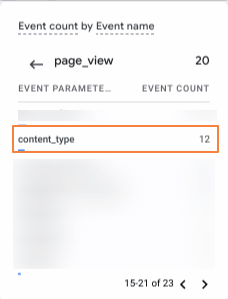
Step 1: Click on an event
Step 2: Click on a parameter
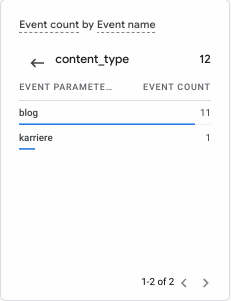
Result: Incoming parameter values
Alternatively, you can click on a specific event in the events report. The currently incoming parameters can be seen under “Events in Last 30 Minutes” and can be selected using the drop-down.Important:If the parameter runs as desired and is to be available for evaluations, it must still be registered as a custom dimension!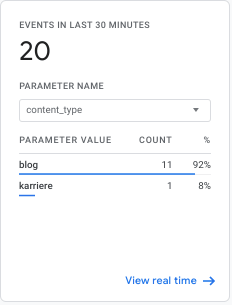 Incoming parameters for a specific event under Reports > Commitment > Events
Change a parameter value
If a parameter value contains a typographical error, this can be quickly corrected as in the following example. Suppose the parameter “content_type” is an existing parameter and on the careers page the value is incorrectly transmitted as “karrieree”. With the following configuration, the value can be adjusted to the correct spelling “career”.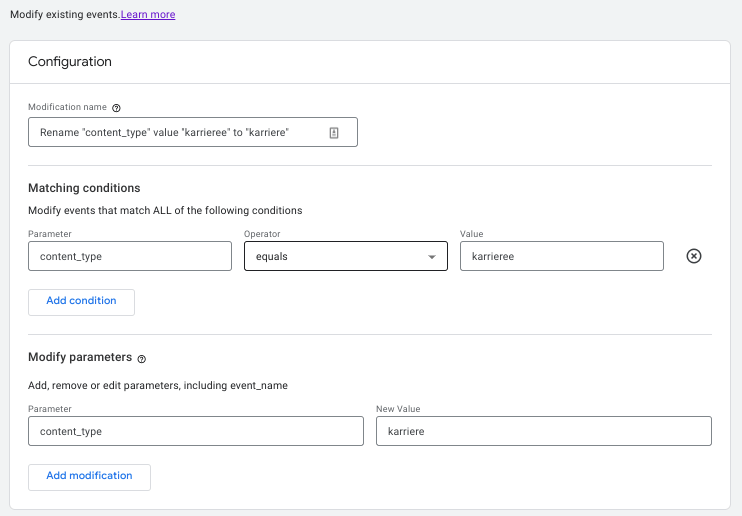 Change a parameter value
Change parameter name
Using the “Modify Event” function, parameter names can also be adjusted or the values from one parameter can be written into a new one. Let’s say we want the “content_type” parameter to come in under the label “content_type_test”. To do this, the new parameter name must be written in the “Parameter” field. The parameter whose values are to be adopted must be defined within two square brackets in the “NewValue” field.
Attention: This does not mean that the “content_type” parameter is overwritten. It just creates a new parameter called “content_type_test” that fires in parallel. How one of these parameters can be deleted is described in the next example.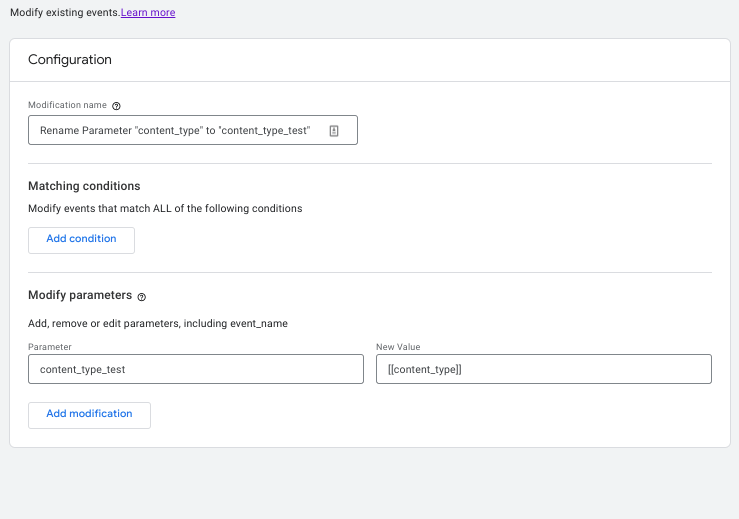 Change parameter name
Remove a parameter
Parameters that are not required can be easily deleted in the interface. To do this, the parameter name must be added to the “Parameter” field under “Modify Event” and the “New value” field must be left empty. Remove a parameter
Limitations and important comments
As described in this blog article, there are some cases where this function can provide quick relief. However, there are also some limitations and important aspects to consider. The most important point is that the modified events are not retroactive, but only take effect from the time of creation. A maximum of 50 modifications can be created and it can sometimes take longer than an hour until the adjustments are visible. It is important to note that the modified events are executed in the order in which they are created in Analytics under “Event modifications”. Another limitation is that regular expressions are not possible for the operators, which makes it difficult or impossible to implement more complex conditions.
Conclusion
The ability to customize events directly within the Google Analytics interface is a valuable new feature that was previously not available in this form. This makes it possible to make small typographical errors, adjust the recorded values or even create categorizations based on existing data. However, you also have to be aware of the limitations and be careful with modifications, as these have a direct impact on tracking. For example, if you unintentionally modify the page_view event so that it only fires on one page, page_views for other pages will not be captured. It is therefore advisable to be careful when using this feature and to validate the incoming data directly.