Piwik Pro Tag Manager – How to Publish Changes

Management Summary
Piwik Pro has established itself as one of the leading privacy-compliant analytics alternatives, which is why switching to it is currently a top priority for many marketing and data teams. If you’re already familiar with Google Tag Manager, you’ll notice that version management in Piwik Pro works a little differently than you’re used to.
The main difference from Google Tag Manager
In Piwik Pro Tag Manager, you can prepare all changes to tags, triggers, and variables in a single area. You can save changes up to a specific point in time in what’s called a “snapshot.”
In GTM, you can use parallel workspaces to prepare changes for different tasks and then choose when the various changes should go live. In Piwik, you prepare all changes in a single workspace and can then save your changes in a snapshot until a specific point in time.
Specifically, this means: If, for example, you want to implement tracking for a click on the website’s new call-to-action button, you can prepare these changes and save them in a snapshot.
Let’s say you want to make an urgent adjustment to the “add_to_cart” tracking the next day. You want to do this right away, but you haven’t yet finished setting up the tracking for the new button. In that case, it’s good to know: As soon as you’re ready to publish the changes, all changes will go live. So make sure the half-finished button tracking is in a state where it can be published.
How Snapshots Work in Piwik Pro
What might that look like when you’re preparing changes to different sets of tags? Here’s an example of what that might look like:
First, we have our current configuration with a few tags and triggers; then we’ll add a tag and a trigger for LinkedIn tracking:
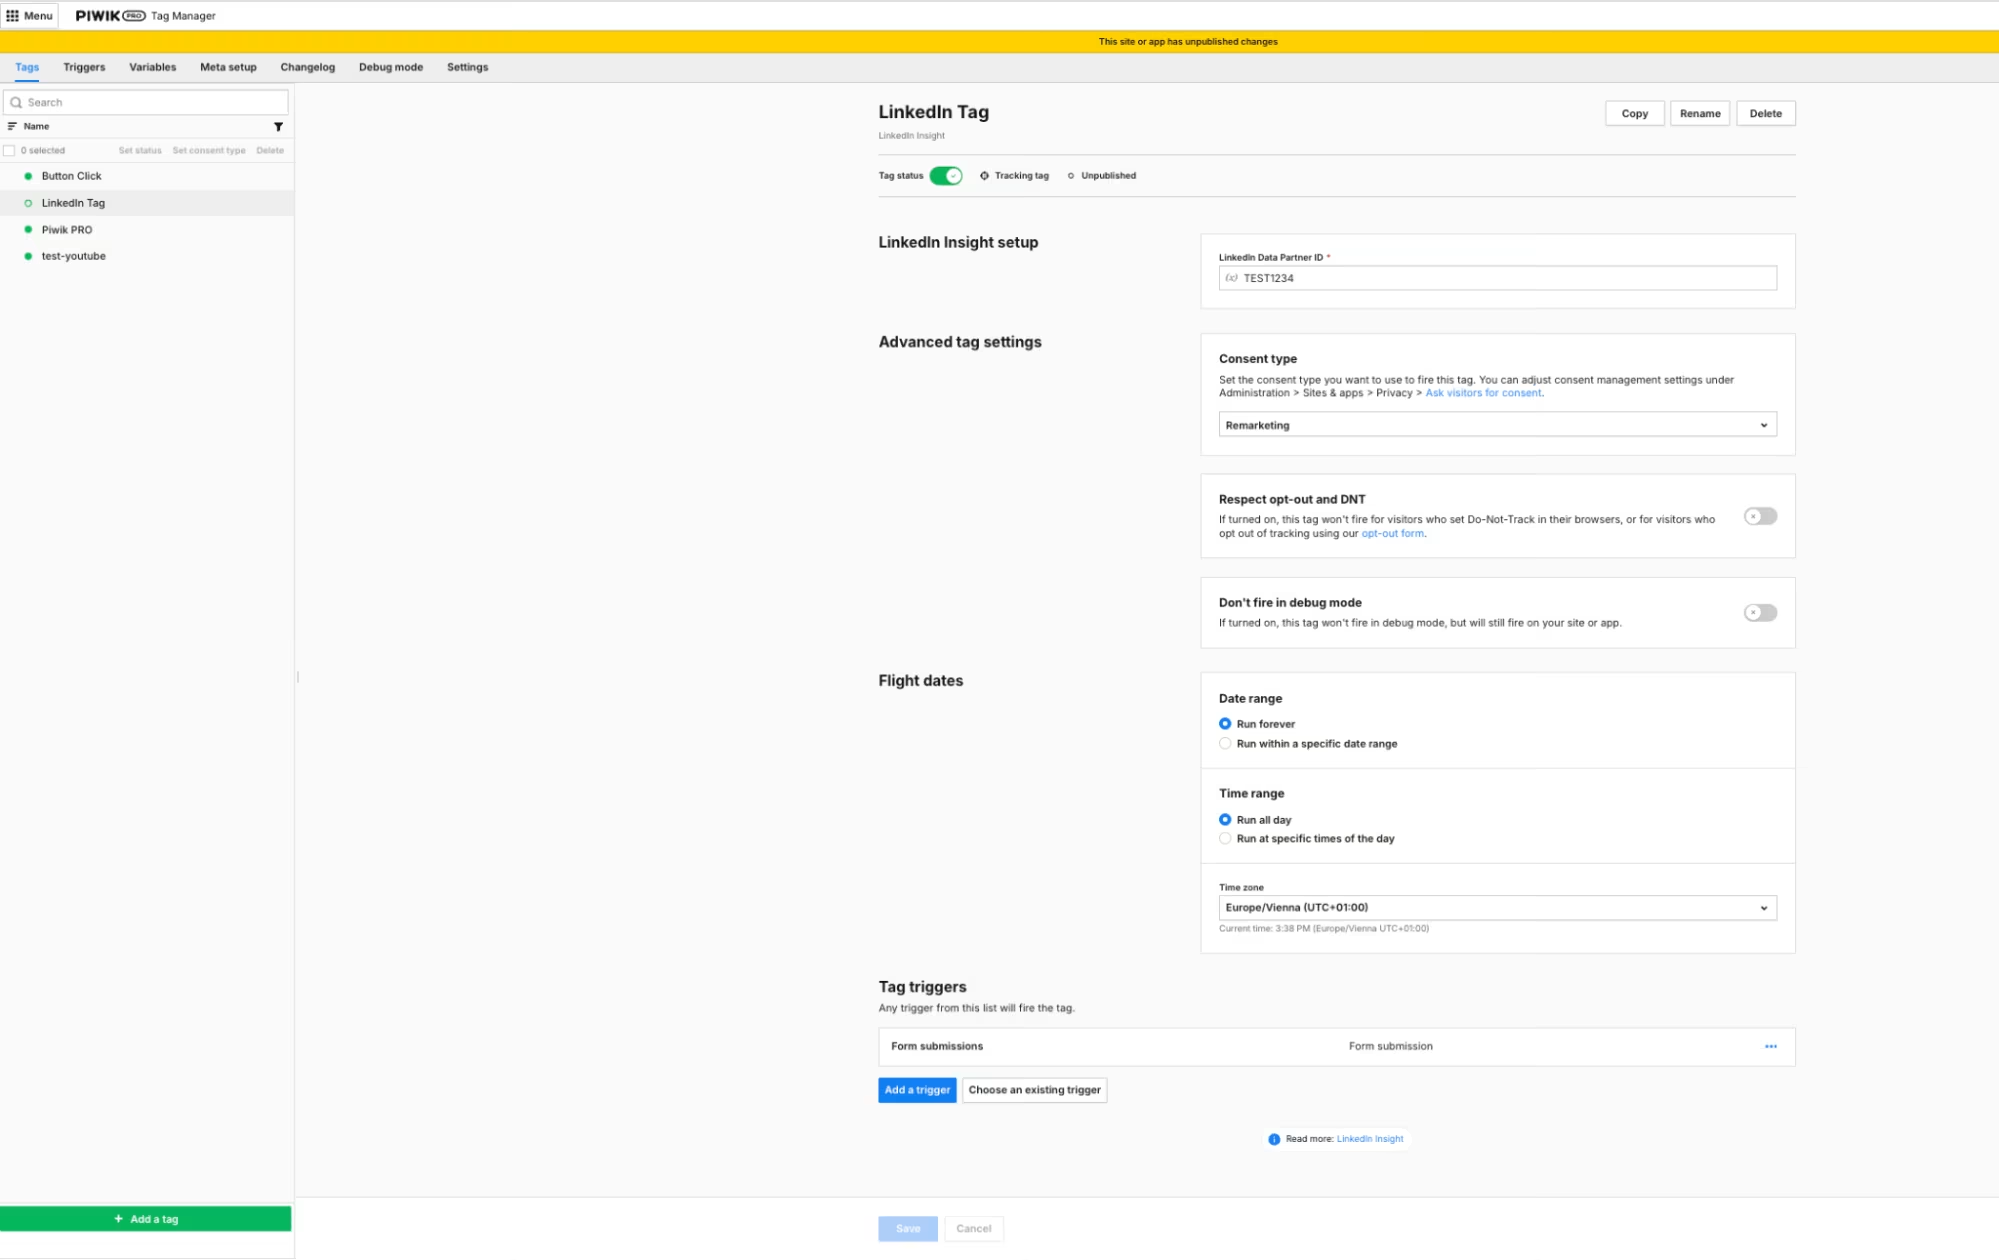
Image: Adding tags & triggers. Source: e-dialog
When we switch to the “Changelog” tab, we can see the new changes in the “Unpublished Changes” snapshot.
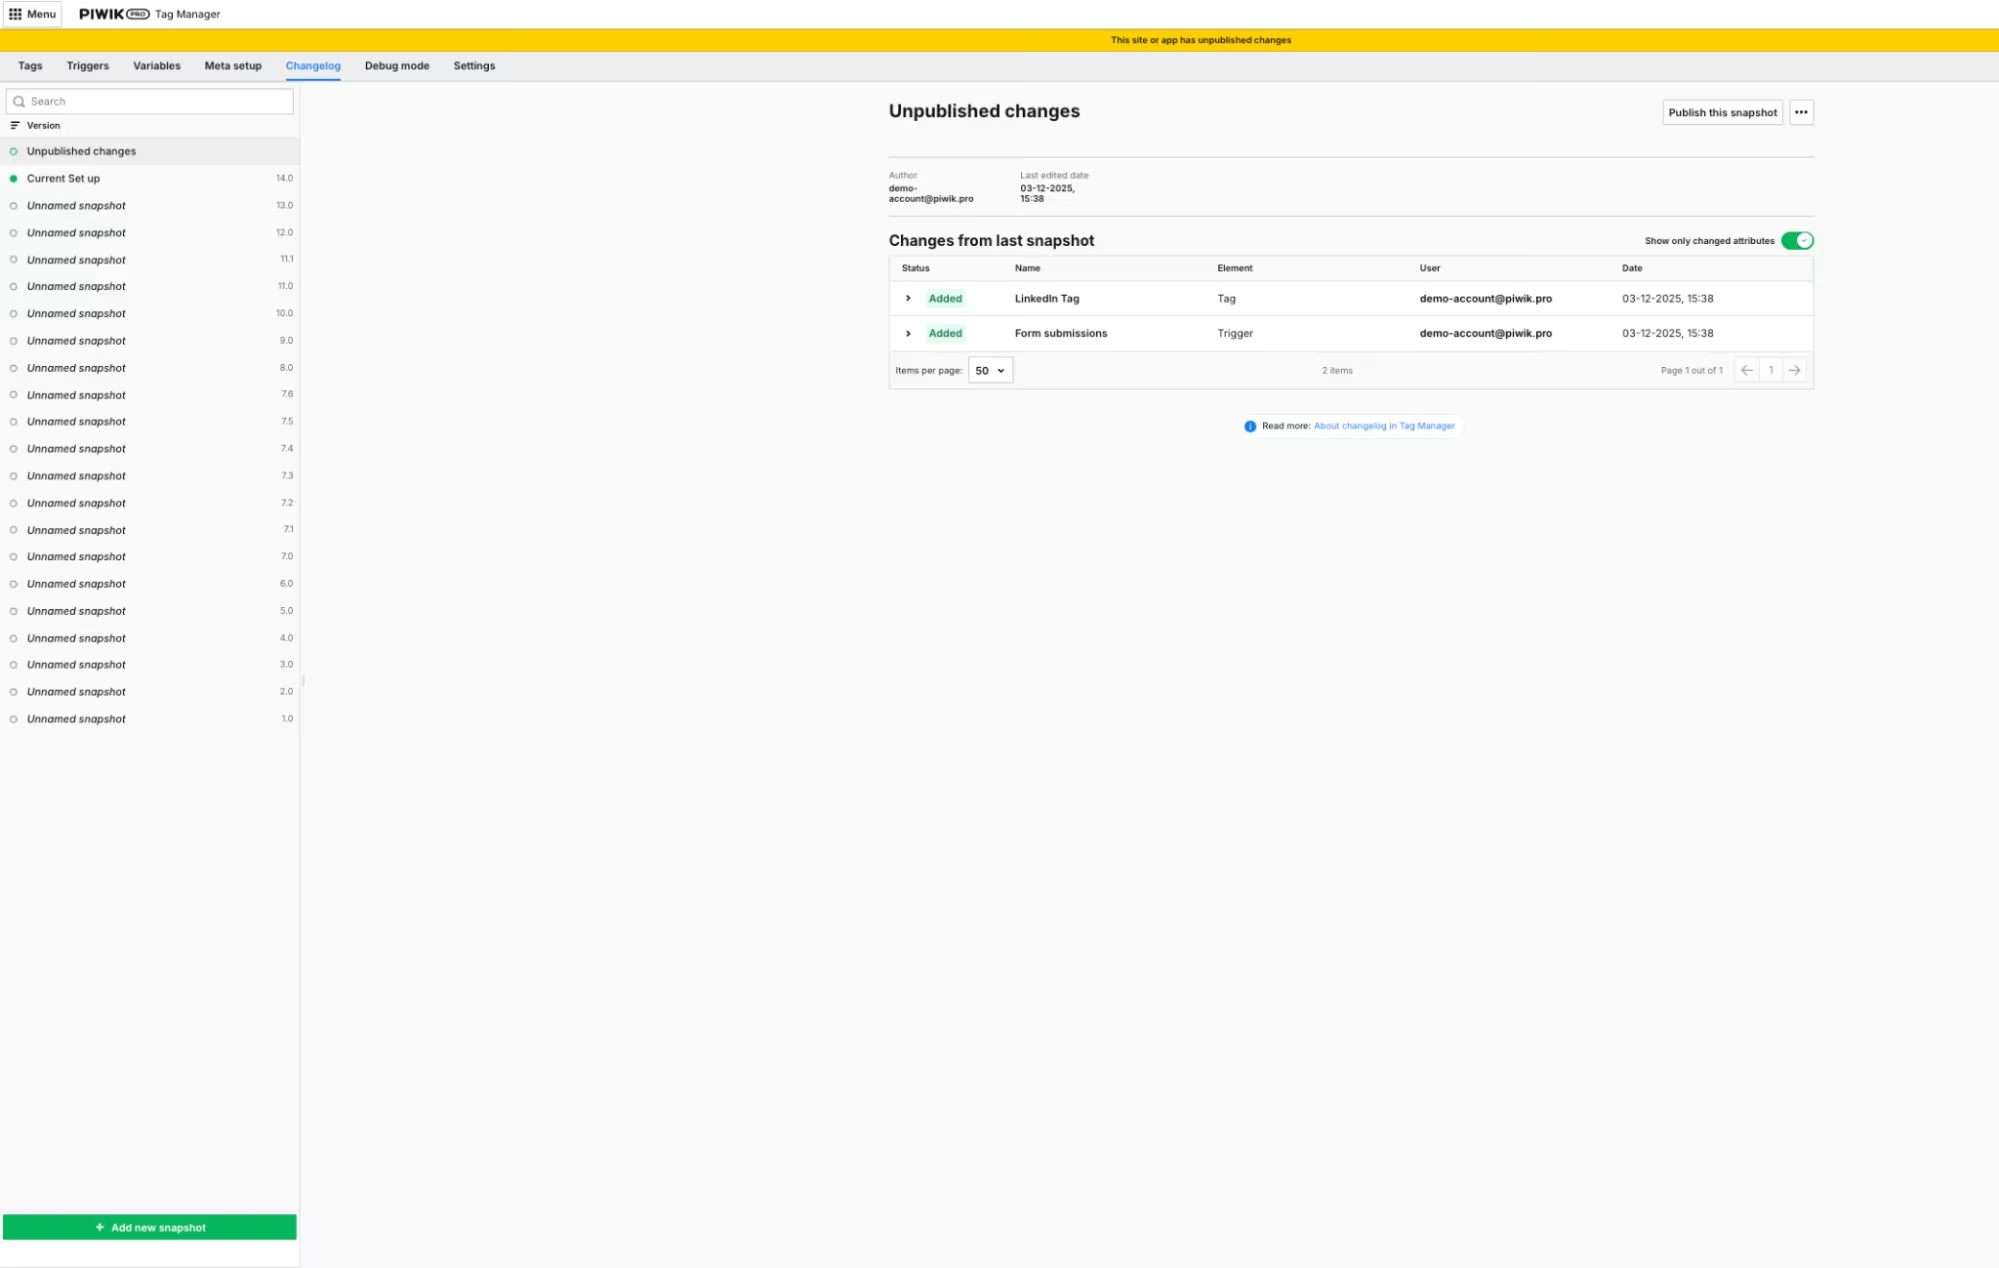
Image: The changes to LinkedIn that have not yet been released. Source: e-dialog
If you save the changes as a new snapshot, they will be displayed as Snapshot 14.1.
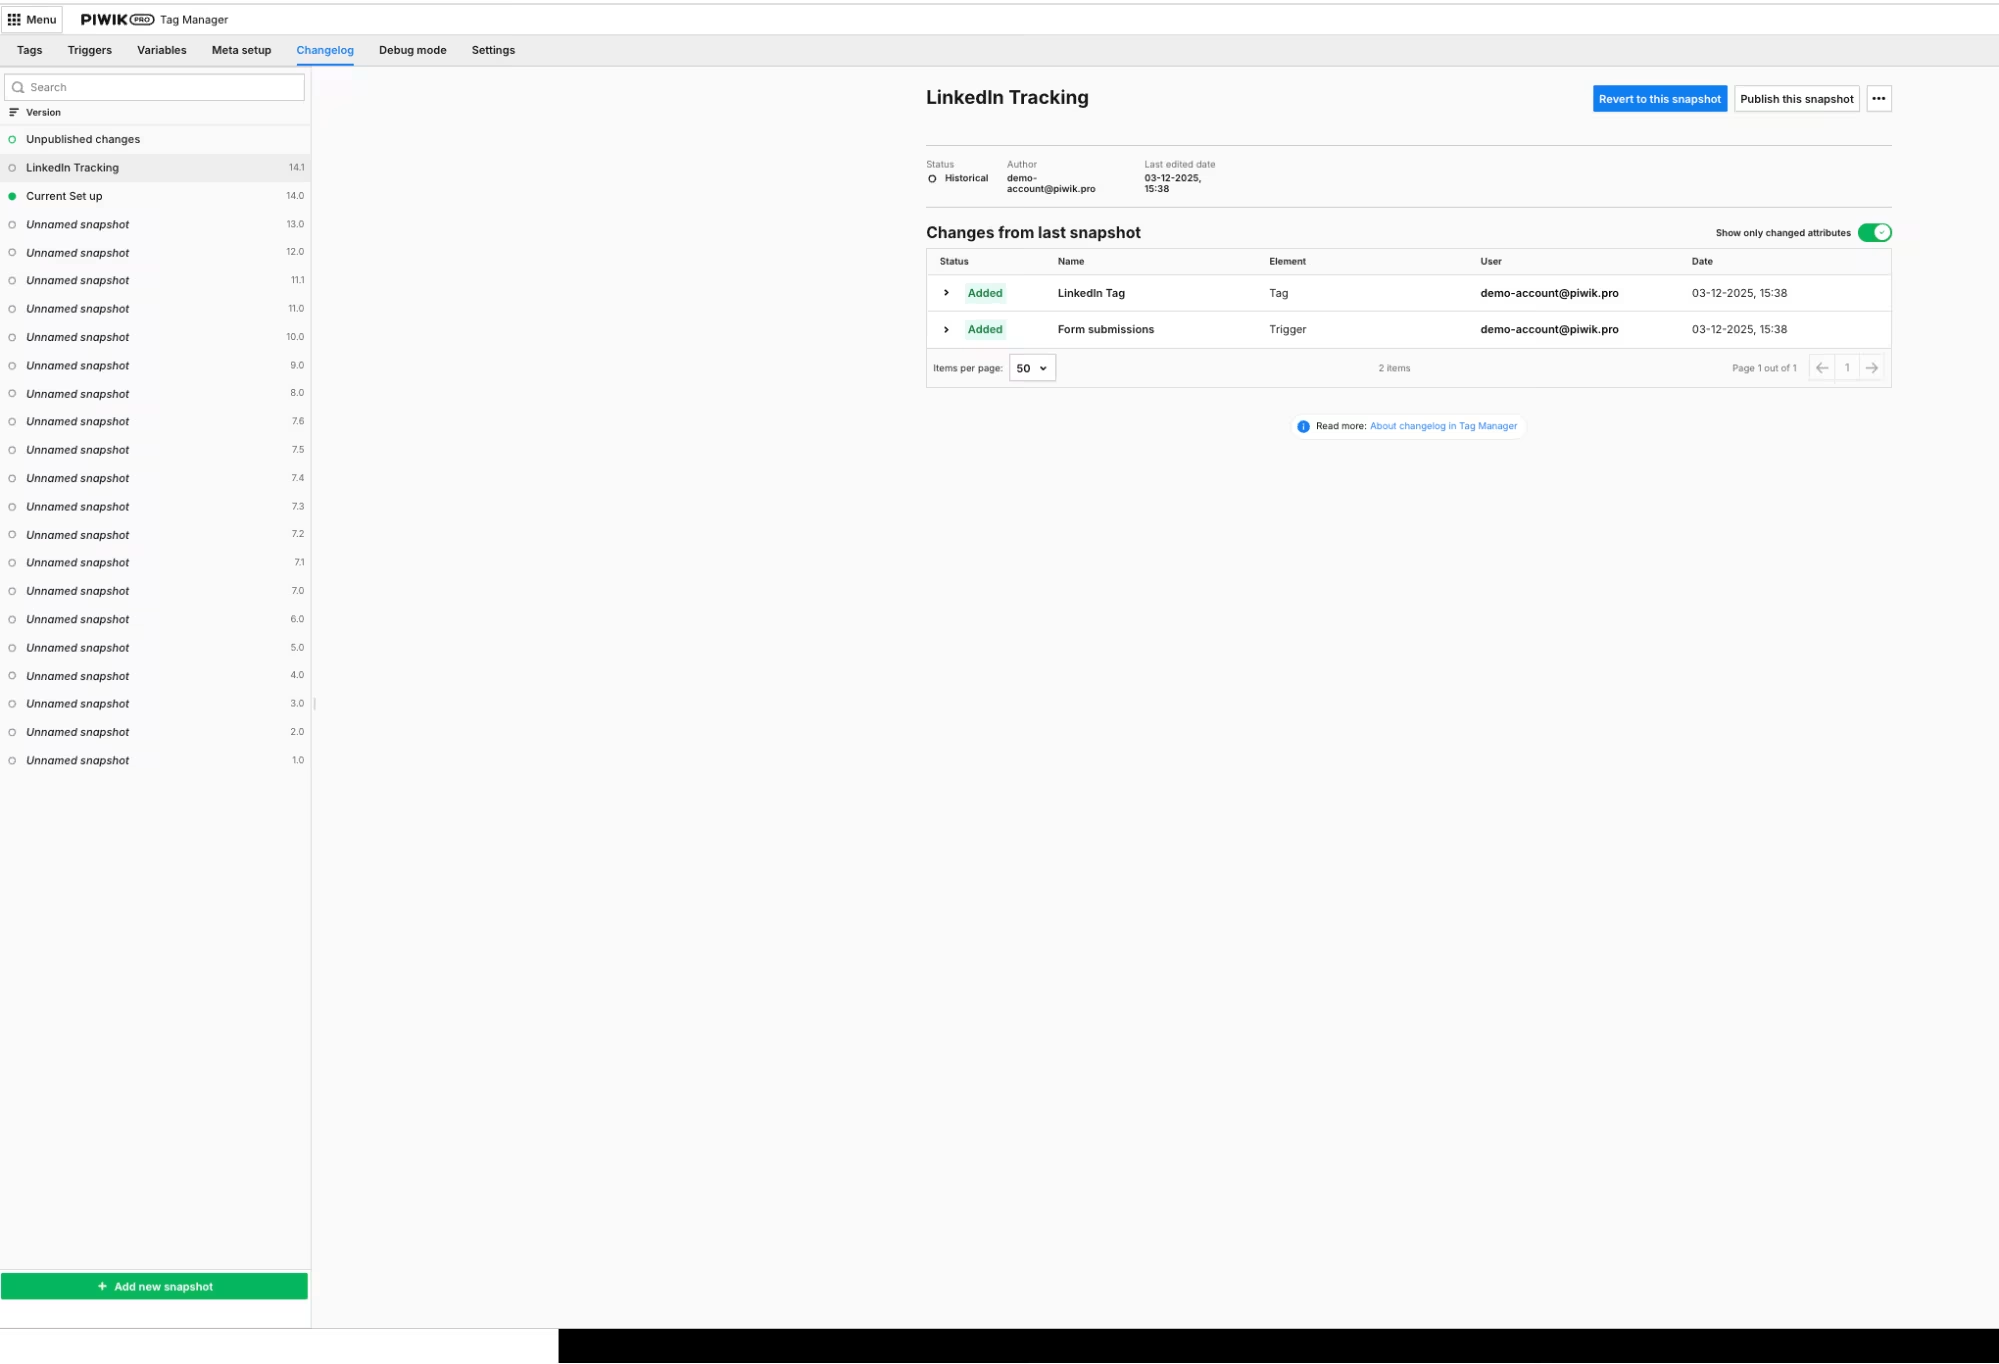
Image: An overview of the new changes to LinkedIn. Source: e-dialog
The new, as-yet-unreleased changes were moved from the “Unpublished” snapshot, which is now empty.
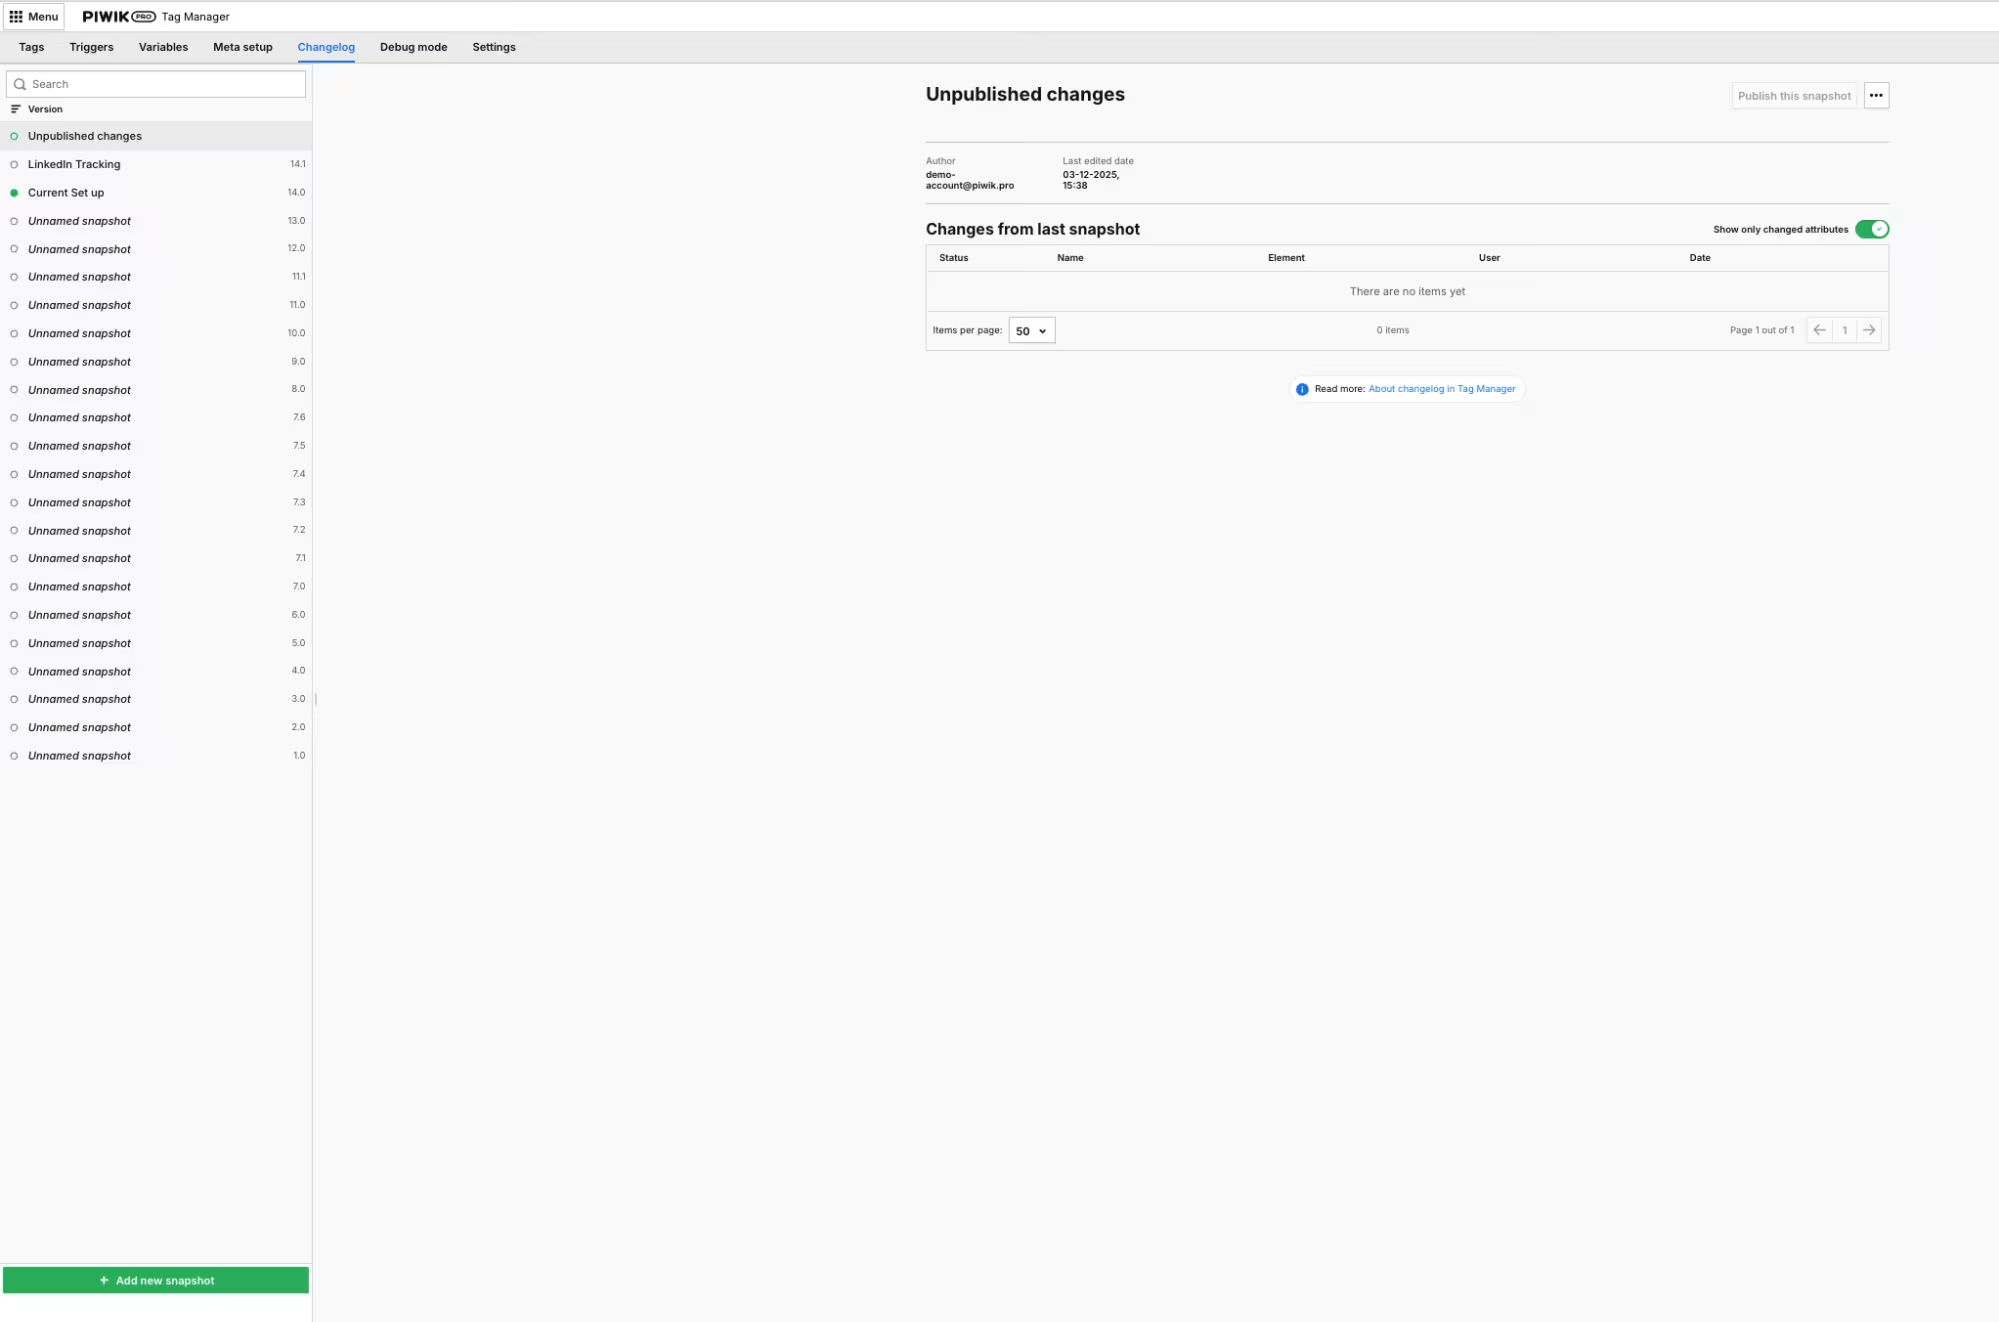
Image: The snapshot of the unpublished changes is empty. Source: e-dialog
Example: Publish New Tags and Triggers
Next, we’ll add a new tag for form tracking and create a snapshot for it. On the “Tags” tab, both the new LinkedIn tag and the new form tracking tag are marked as “unpublished.” When we look at the snapshot of the unpublished changes, there are no changes listed there, and it’s also not possible to publish this snapshot.
-
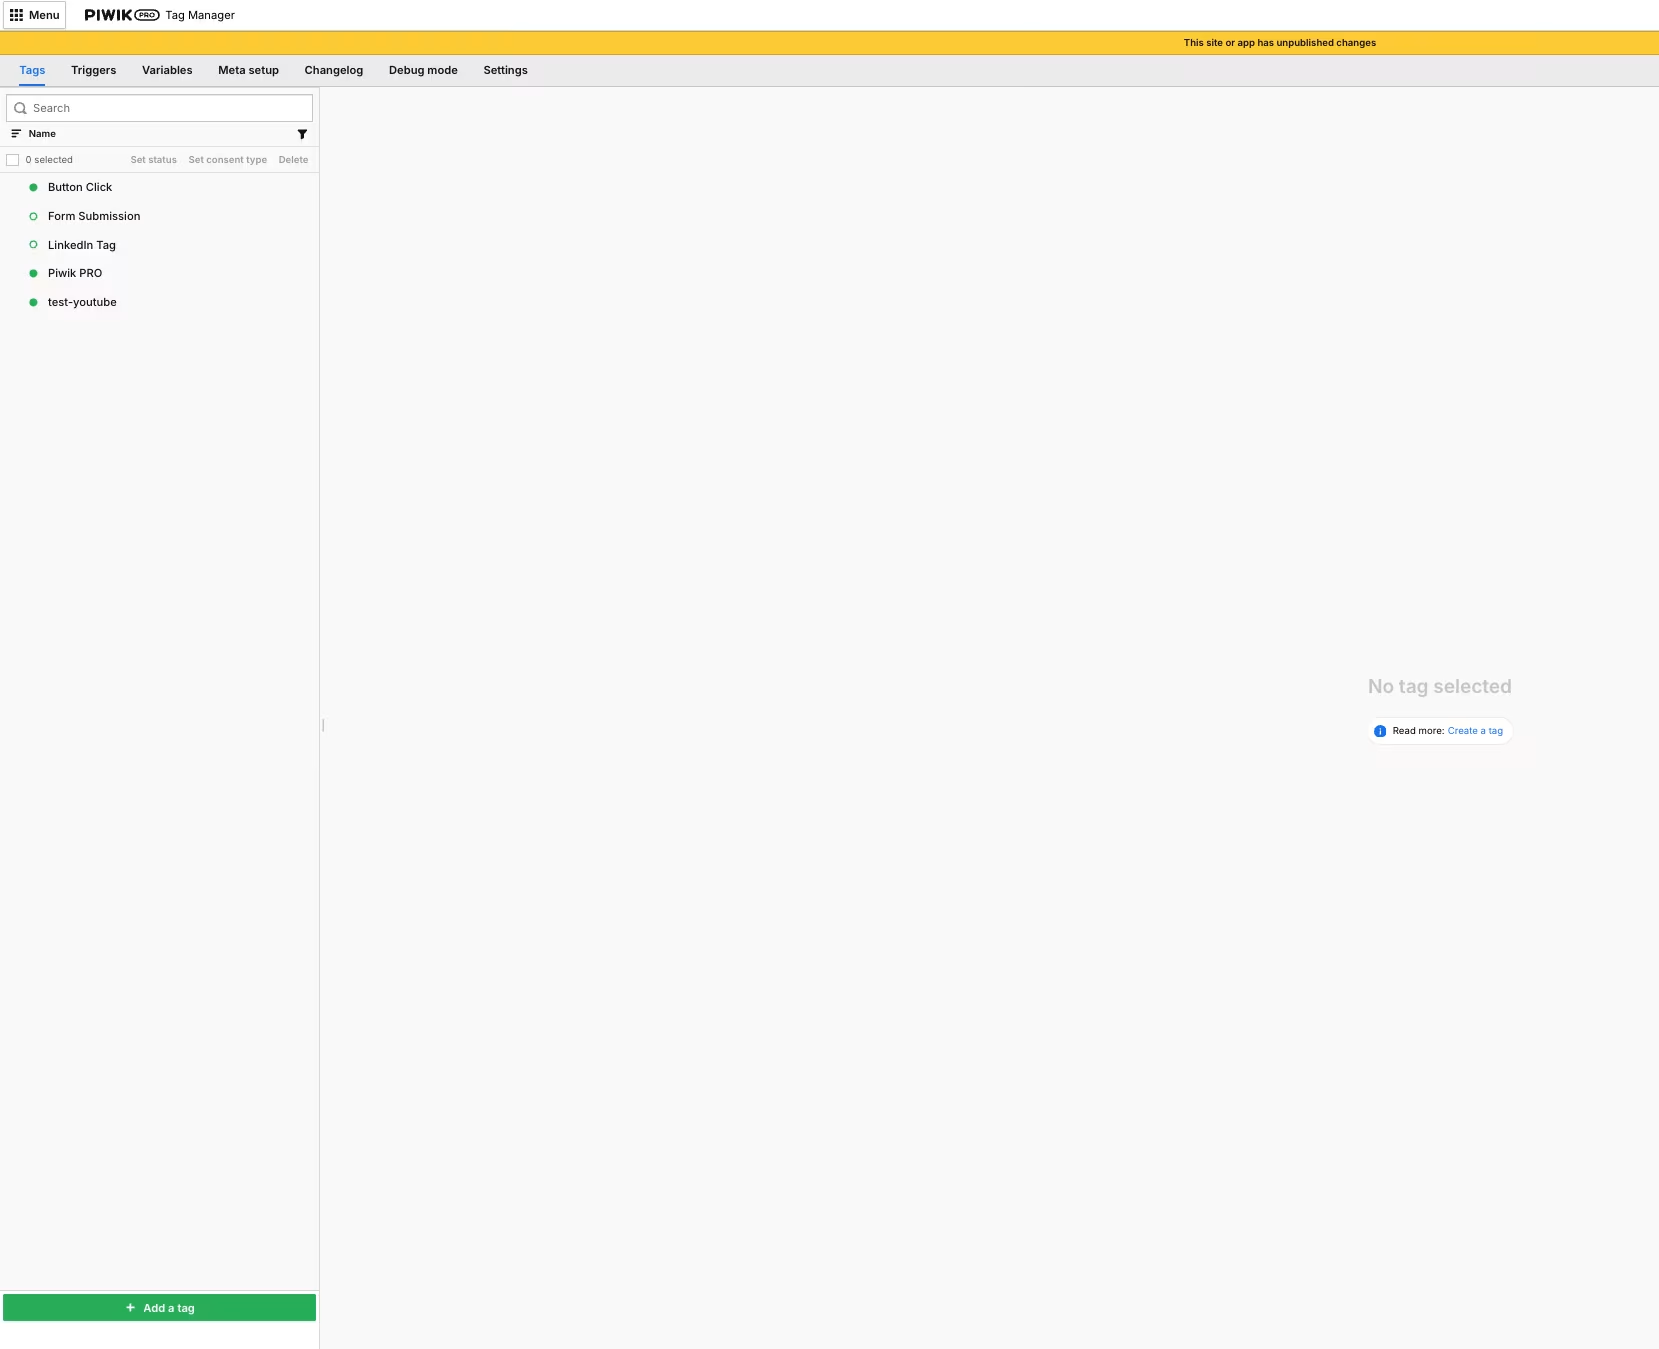 Neues Formular-Tag hinzugefügt
-
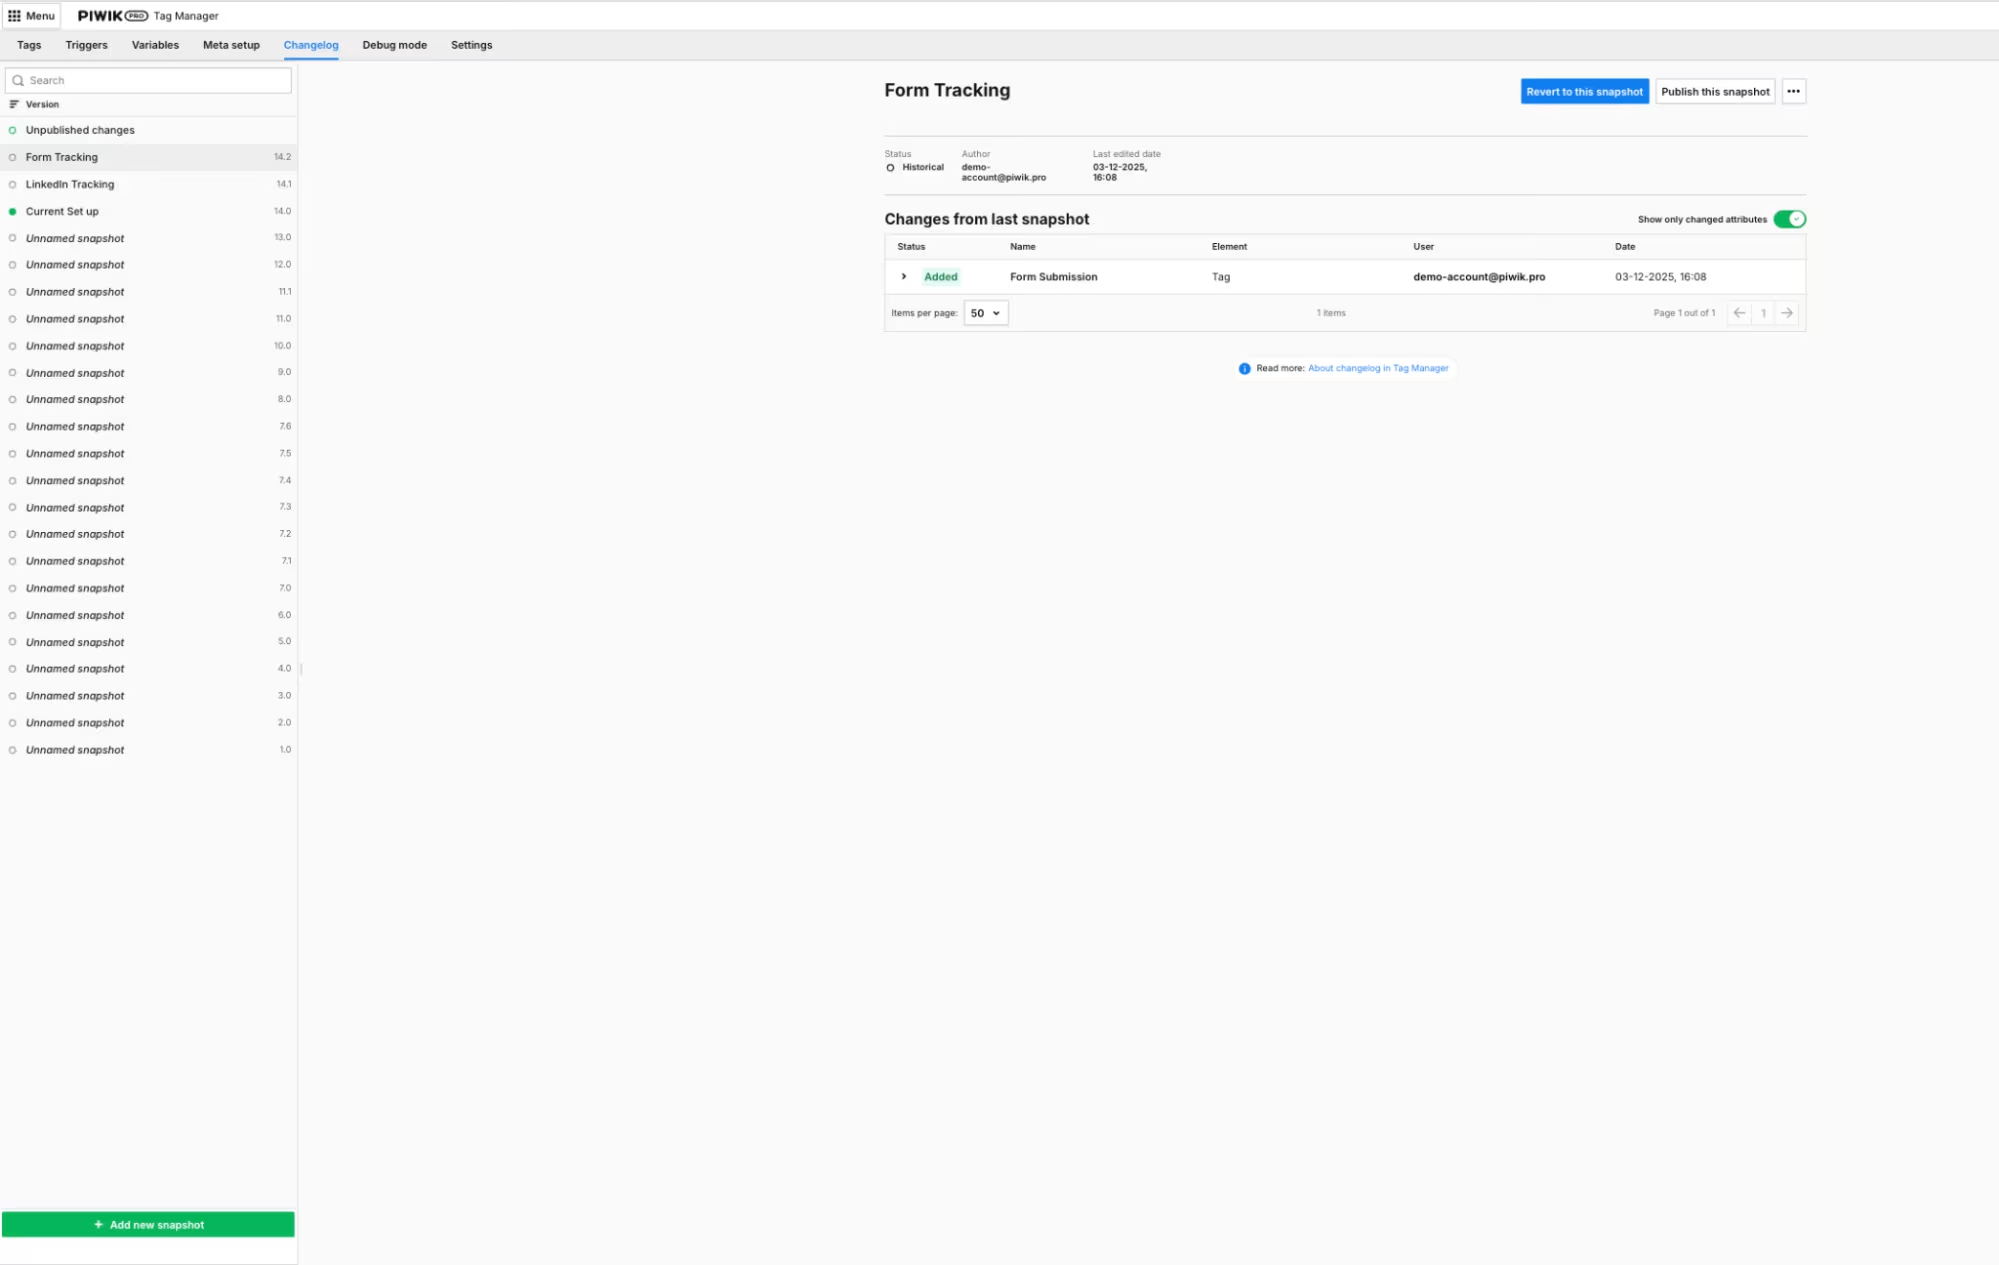 Neuer Form-Tracking Snapshot hinzugefügt.
-
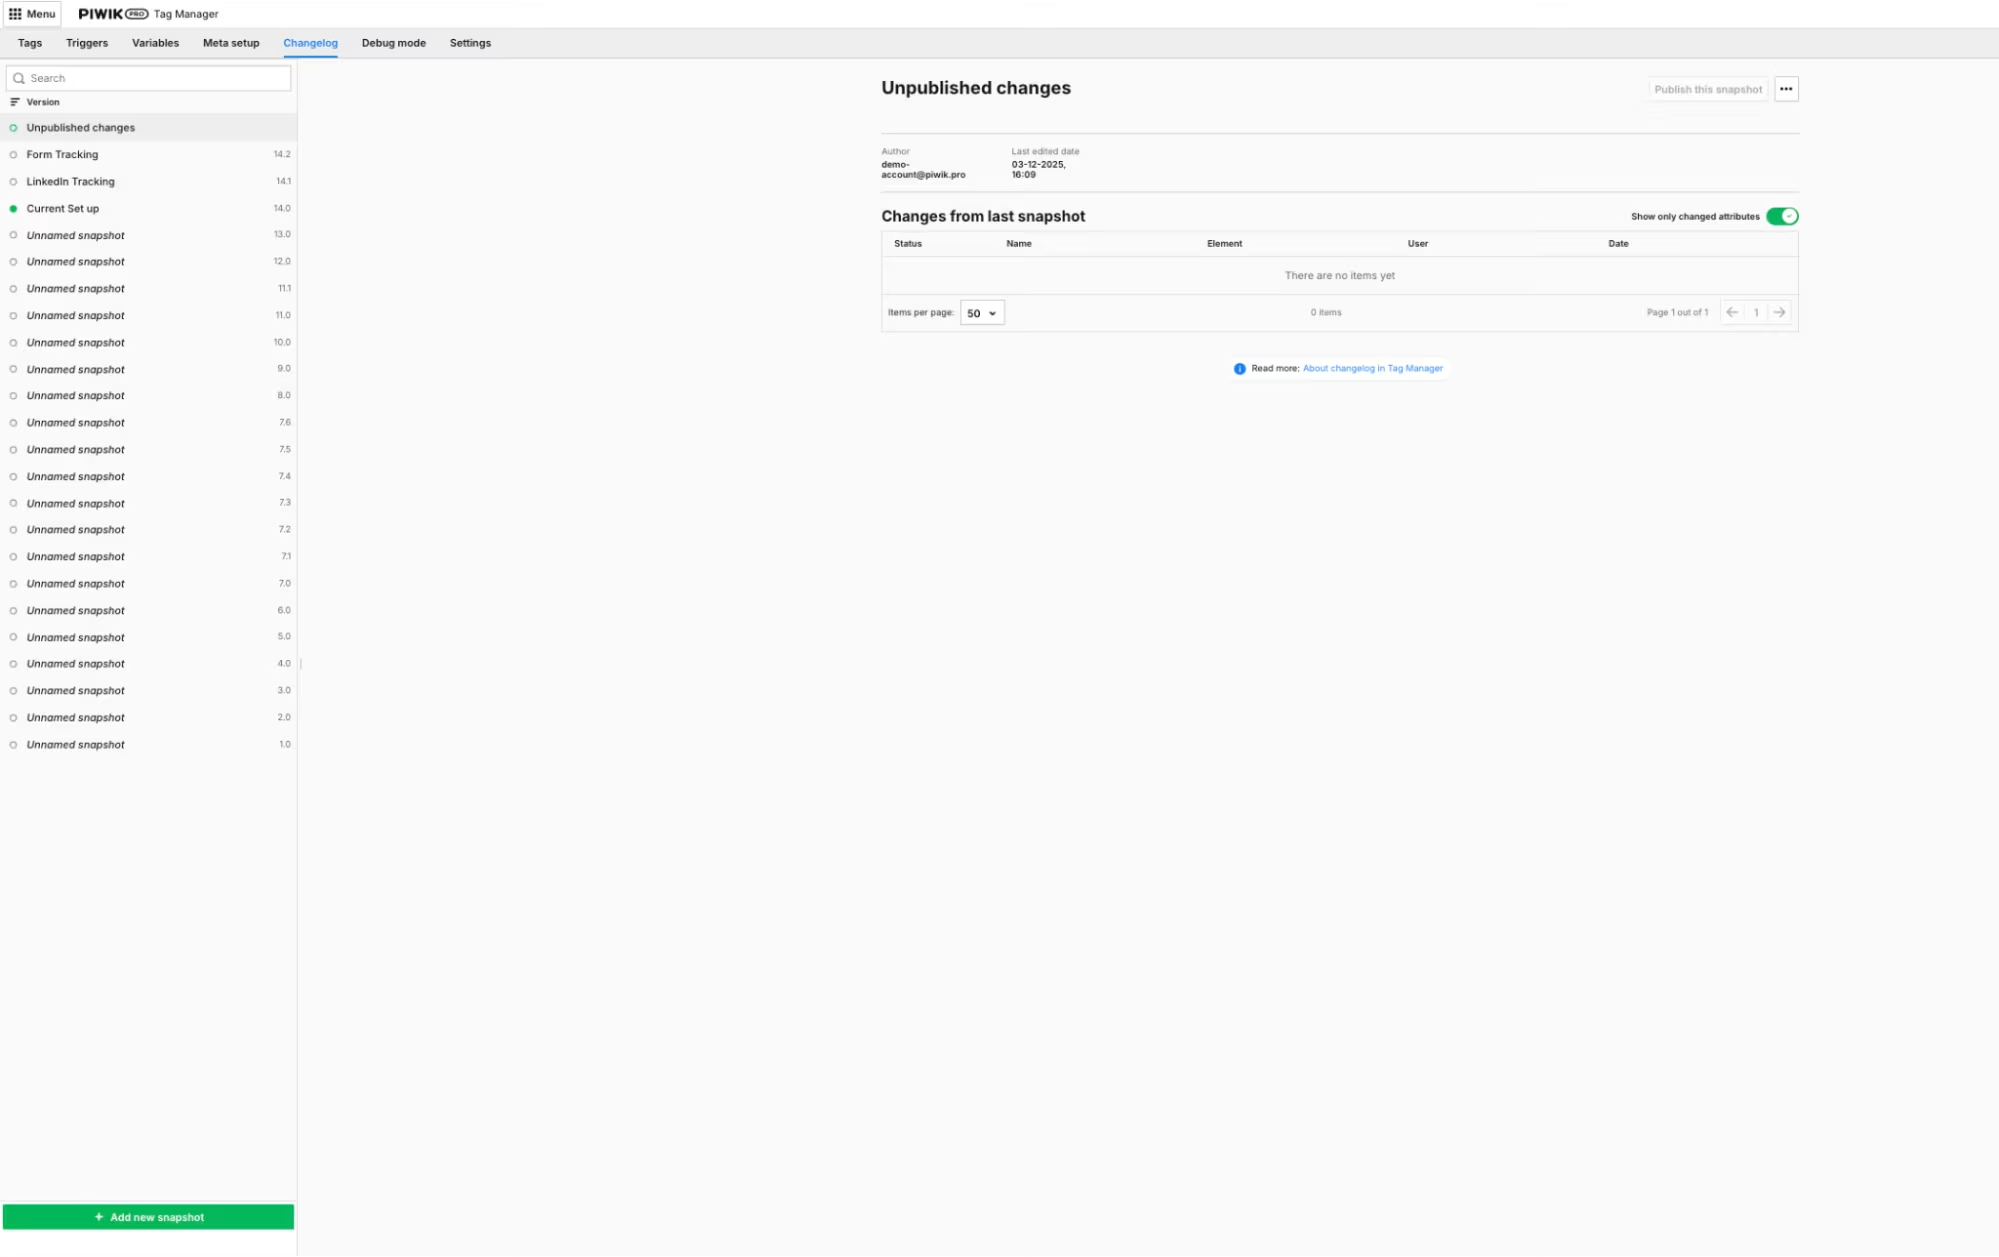 Die unveröffentlichten Änderungen sind wieder leer.
When we release the “Form Tracking” workspace (version 14.2), all previous versions will also be released, which means the LinkedIn workspace will be released as well.
Publish or Revert Changes
When you use the “Return to this Snapshot” button, something interesting happens: All tags and triggers that have already been published appear under “Unpublished Changes”—even if they were published before the version you’ve returned to.
I find it easiest to think of it this way:
- Chronological Order: All changes are always arranged in chronological order. There are no parallel work areas.
- The “Publish” button: This controls what gets published. It includes all changes up to and including the version you’re publishing.
- The “Reset” button: This controls what is displayed under “Unpublished Changes.” This also includes all changes you’ve made from the empty container up to and including the version you reset to. It’s not just the unpublished changes since the last published version.
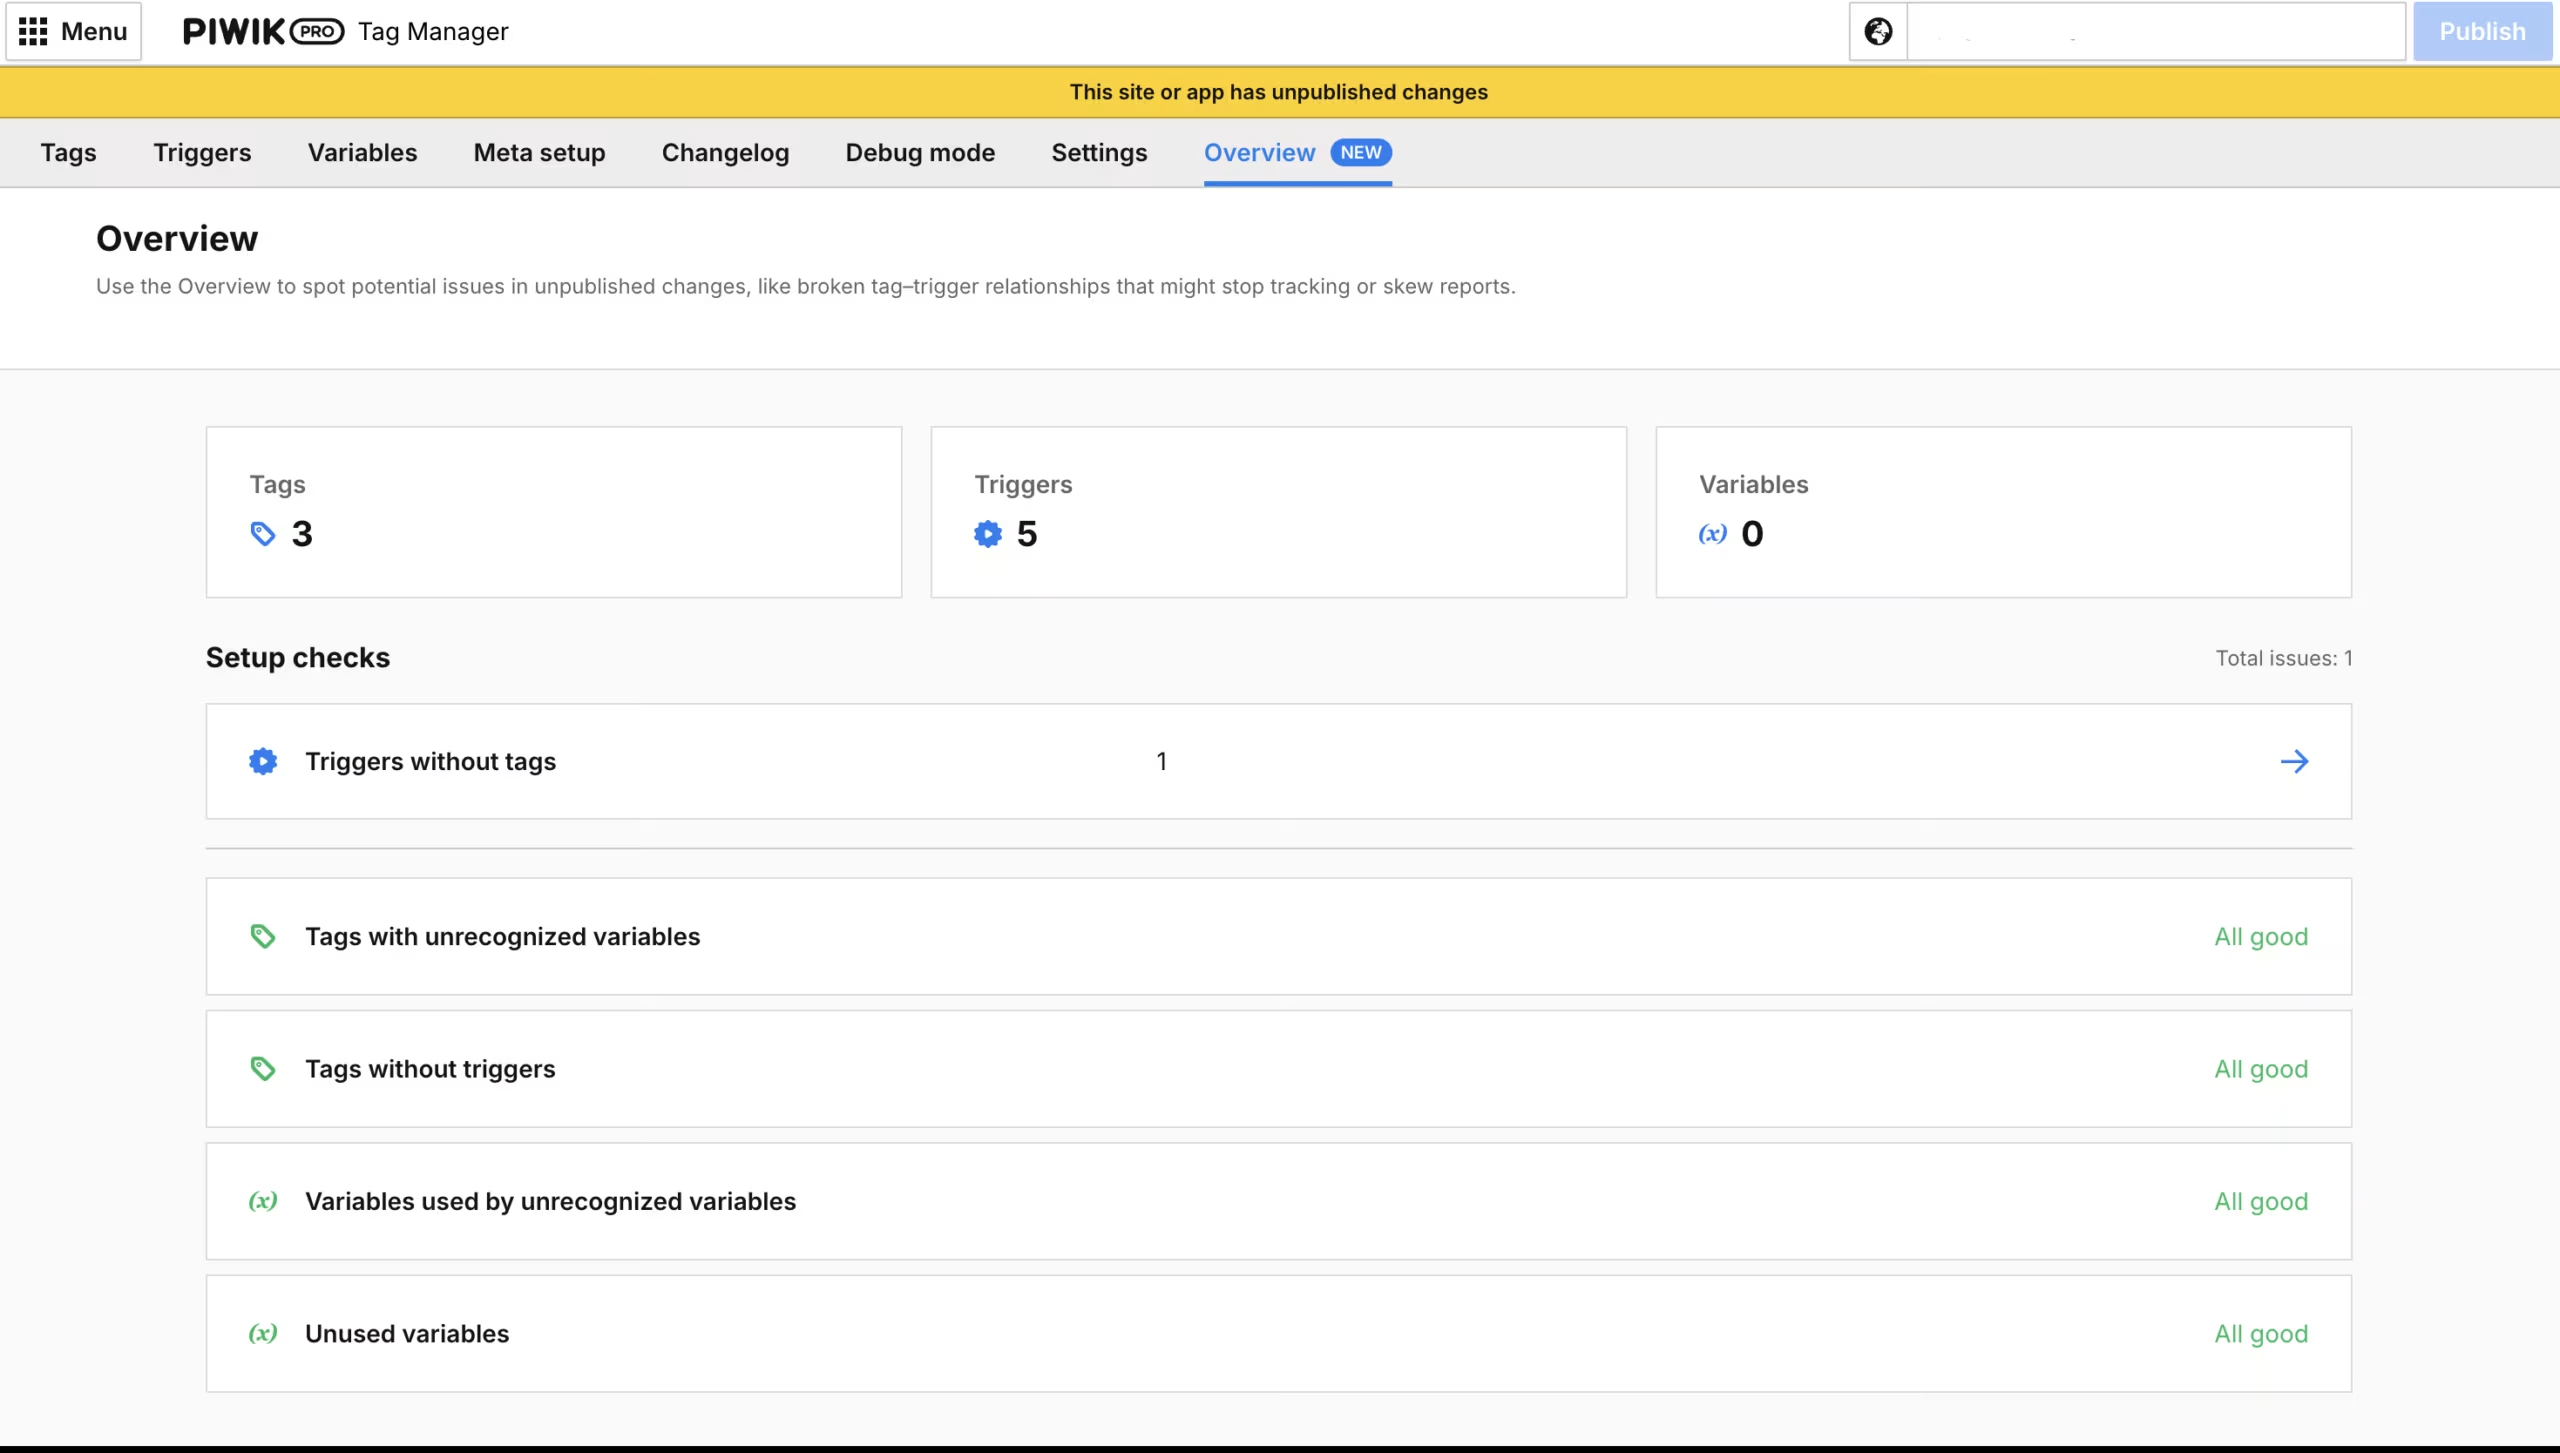
One new feature introduced in 2026 is the overview page. It helps you double-check changes that haven’t been published yet and indicates whether any issues need to be resolved before publication.
Conclusion
Getting used to a new tool or switching from one to another can take some time. Once you get the hang of using the Piwik Pro Tag Manager, you’ll have less clutter from half-finished changes than you might have had in your old workspaces in GTM. Make it a habit to plan your changes, name your workspaces, and regularly clean up your test environments.
If you’d like to learn more about how GTM and Piwik Pro differ, check out our blog post for an overview of the key differences